04 May Learning Module: Creating Visual Schedules and Checklists
Visual schedules and checklists offer visitors a general outline of what to expect on the day of their visit that can be used in preparation for the visit, as a visual reference point during and after the visit, as a communication tool, and to encourage social participation, expression, and engagement. The following tips provide guidance to cultural professionals for designing visual schedules and checklists.
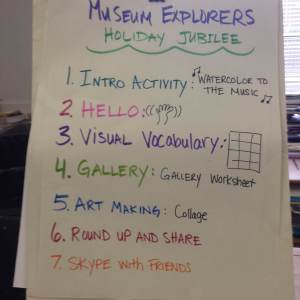
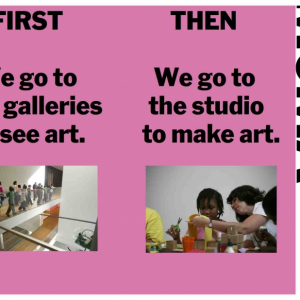
Use numbers or sequencing vocabulary to convey each part of the visitor experience
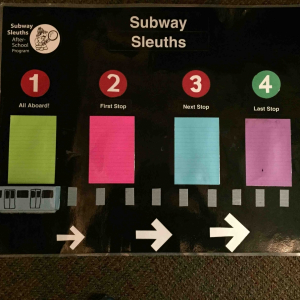
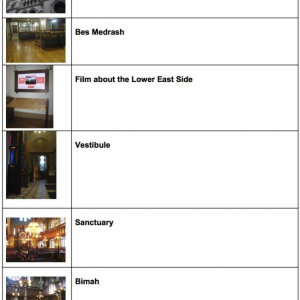
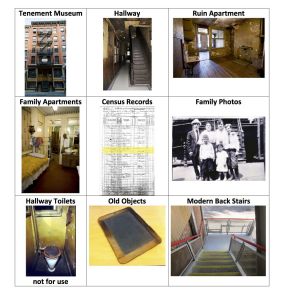
Order images and labels in sequence of the locations visited during a program or tour
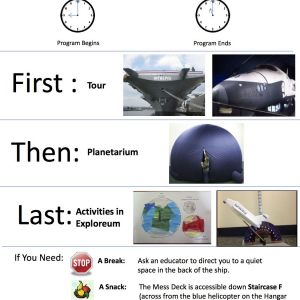
If your institution offers programs or guided tours that have predictable stops, organize the visual schedule by location with photographs and labels to represent each stop.
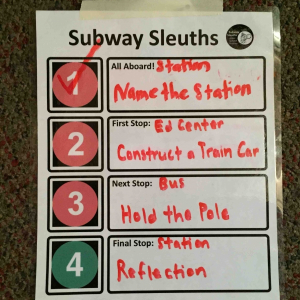
Invite visitors to track their progress during a tour or program
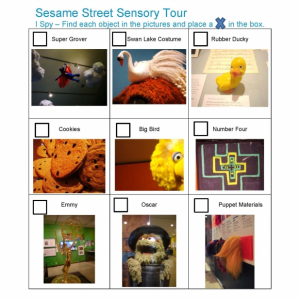
Provide participants with pencils and clipboards and encourage them to make a check mark, draw, or write down observations as they make their way through the tour or program.
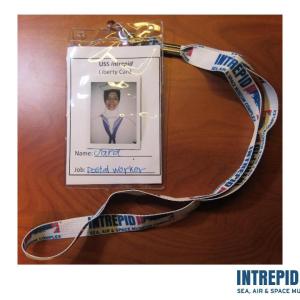
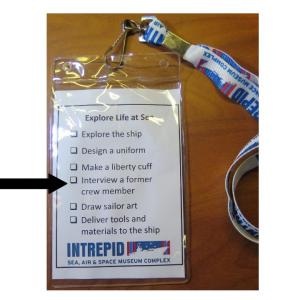
Make a visual checklist that visitors can wear around their necks and reference easily
Provide tools and a template for visitors to create their own visual checklist
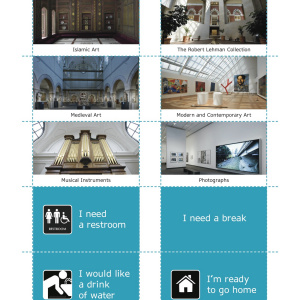
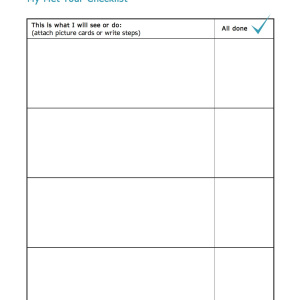
For independent visitors to your cultural site, consider creating an activity packet for visitors to use to create their own visual checklist in advance of the visit. The Metropolitan Museum of Art, for example, offers an activity packet on their website called My Met Tour that provides visitors with instructions, rules, picture card cut-outs and a visual checklist to prepare for an independent family visit. The packet consists of several pages of picture cards that display labeled photographs of the entrances and designated galleries, as well as symbols and statements that address basic needs, such as “I need a restroom,” “I would like a drink of water,” or “I need help.” In advance of the visit, visitors can cut out the cards, review information online about the galleries, and make decisions in advance of the visit regarding where they would like to go when they come to the museum. A visual checklist is also included with the packet and provides a chart with two columns, one to the left with a header that reads, “This is what I will see or do:” and one to the right entitled, “all done” with a check mark at the top. Visitors can attach the picture cut-outs to the “This is what I will so or do” side of the chart and display the cards in the order that works best based on their own needs and interests. On the day of their visit, they check boxes on the visual checklist as they make their way through the museum. The instructions that are included with My Met Tour encourage visitors to leave some spaces open and to bring their extra cards, as well as an extra visual checklist, just in case they decide to make another checklist. My Met Tour is made available to visitors on a webpage that is provides an array of resources for visitors on the autism spectrum.
The two pages here are sample excerpts from My Met Tour. Click here to view the full packet.
This learning module is made possible thanks to the generous support of The FAR Fund 
Sorry, the comment form is closed at this time.